How to Troubleshoot Plating Defects (Burning, Peeling, Pitting, Roughness & More) | Lab Wizard
Table of Contents
How to Troubleshoot Plating Defects (Burning, Peeling, Pitting, Roughness & More)
When a job turns up with burned corners, pitted surfaces, or peeling deposits, it’s already costing you money: rework, sorting, rush shipments, and uncomfortable customer calls.
Most plating defects are predictable, repeatable, and preventable once you treat troubleshooting as a structured process, not guesswork or tribal knowledge.
This guide walks through:
- The most common plating defects and what they typically mean
- A repeatable troubleshooting workflow you can standardize
- Defect by defect root cause and corrective action checklists
- How SPC, LIMS, and digital recordkeeping catch problems before scrap explodes
🔍 What Counts as a Plating Defect?
In this guide, a plating defect is any condition on the finished part that fails customer requirements or internal quality standards because of the electroplating or electroless plating process.
Typical categories:
- Appearance: burning, dullness, stains, discoloration
- Surface integrity: pitting, nodules, roughness, blisters
- Adhesion: peeling, flaking, blistering, poor bond
- Coverage / geometry: skip plate, bare areas, low thickness, edge build-up
- Performance: poor corrosion resistance, porosity, cracking
Most defects can be traced back to one or more of these areas:
- Surface preparation and cleaning
- Fixturing and racking
- Bath chemistry (composition, contaminants, breakdown products)
- Operating parameters (current density, temperature, agitation, time)
- Rinsing and drag-in/drag-out
- Incoming material (base metal defects, porosity, heat treatment)
Good news: Very few defects are “mystery problems.” Once you capture the right data over time, patterns emerge and root causes repeat.
🔄 A Simple, Standard Troubleshooting Workflow
Instead of starting with “add a wetter and hope,” use a 5-step workflow you can train every engineer, supervisor, and lab tech on.
Step 1 — Define the Defect Clearly
Document:
- Where the defect appears:
- High current density areas? Low current recesses? Specific faces or edges?
- When it appears:
- First panels of shift? End of shift? After a makeup or large addition?
- How often:
- One rack? One job? Multiple customers? Multiple lines?
Step 2 — Capture & Review Process History
Use your digital recordkeeping or LIMS to pull:
- Bath analyses for the last 2–4 weeks
- All additions and makeups
- Any recipe changes (time, current density, temperature)
- SPC charts for key variables (current, temperature, pH, conductivity, metal concentration)
If you’re using Lab Wizard Digital Recordkeeping or LIMS for Plating and Metal Finishing, this history is already searchable and tied to tanks.
Step 3 — Check the “Big 5” First
Most chronic problems are found here:
- Surface prep: cleaning, activation, etch uniformity
- Fixturing / contact: rack design, contact points, loose or oxidized hooks
- Current density: too high, uneven, poor distribution
- Agitation & flow: dead zones, air entrapment, insufficient movement
- Temperature: out of range or fluctuating
Step 4 — Isolate the Variable
Make one change at a time:
- Move suspect parts to a different rack or position
- Plate a known good test panel alongside production
- Run a Hull cell to replicate the defect under controlled conditions
- Adjust one parameter (current, temp, wetter, filtration) and record the effect
This turns “trial and error” into designed experiments you can defend in an audit.
Step 5 — Lock In the Fix & Document
Once you’ve found the cause:
- Document:
- Defect → root cause → corrective action → verification
- Update:
- Work instructions, control limits, addition/makeup rules, alert triggers
- Train:
- Operators and lab staff on what to watch for next time
Tools like Lab Wizard Cloud let you tie defects back to analyses, SPC patterns, and alerts so the same problem doesn’t surprise you twice.
📋 Quick Reference: Common Plating Defects & Likely Causes
| Defect | What You See | Hot Spots / Location | Common Root Cause Categories |
|---|---|---|---|
| Burning | Over-bright, dark, or rough “fried” areas | High current density edges, corners, rack tips | Excess current, poor distribution, low metal, low wetter, poor agitation |
| Peeling / Poor Adhesion | Plating lifts, flakes, or can be peeled with a knife | Whole part or specific zones, often after bending or bake | Inadequate cleaning/activation, passive base metal, contamination, wrong pre-plate, improper bake |
| Pitting | Small pinholes or crater-like voids | Random or clustered, often on upward-facing surfaces | Gas bubbles, particulates, oil/grease, incomplete wetting, bath contamination |
| Roughness / Nodules | Gritty feel, bumps, nodules | Entire surface or edges/shelf areas | Suspended particles, poor filtration, anode fines, breakdown products |
| Blisters | Raised bubbles that may pop or peel | Often after heating, bending, or corrosion testing | Hydrogen embrittlement, trapped contamination, poor adhesion, porous substrate |
| Skip Plate / Poor Coverage | Bare areas, low thickness, dull “dead” zones | Recesses, holes, deep recesses, shadowed areas | Low current density zones, poor agitation, poor contact, shielding, wrong rack design |
| Stains / Discoloration | Dark spots, yellow/brown stains, iridescent films | Random or along flow lines or handling contact points | Rinse drag-in, incomplete rinsing, chemistry imbalance, passivation issues |
| Excessive Thickness Variation | Too thick near edges, too thin in recesses | Edge vs center, top vs bottom | Poor current distribution, incorrect anode placement, part geometry, inadequate robbers |
Use this as your first filter: identify the defect, then drill into the detailed sections below.
🔥 Burning: Over-Current and Distribution Problems
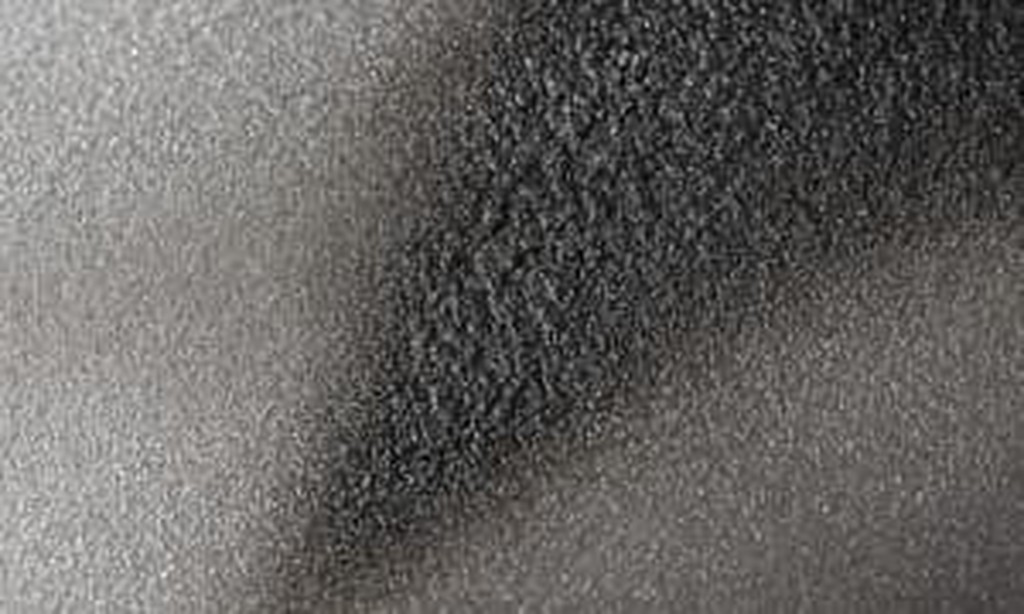
What Burning Looks Like
- Over-bright, frosty, or matte gray/black deposits
- Rough, sandy feel under your finger
- Often limited to high current density regions: tips, edges, corners
Common Root Causes
- Current density too high for chemistry or temperature
- Low metal concentration or wrong primary/secondary brightener balance
- Poor agitation, allowing boundary layer to deplete
- Poor anode placement, leading to local hot spots
- For electroless: local overheating or poor agitation of solution
Quick Checks (5–10 Minutes)
- Compare actual current density to process sheet and supplier recommendations
- Check bath temperature and agitation visually
- Inspect anode to cathode distance and shielding/robbers
- Review recent additions or makeups—was the bath pushed outside its normal window?
Corrective Actions
- Reduce current density or increase agitation while maintaining thickness requirements
- Verify metal and additive concentrations by analysis
- Improve rack design or use shields/robbers to balance current distribution
- Use SPC charts on current density and thickness to prevent creeping setpoint changes before burning appears
🔗 Peeling & Poor Adhesion: Surface Prep and Substrate Issues
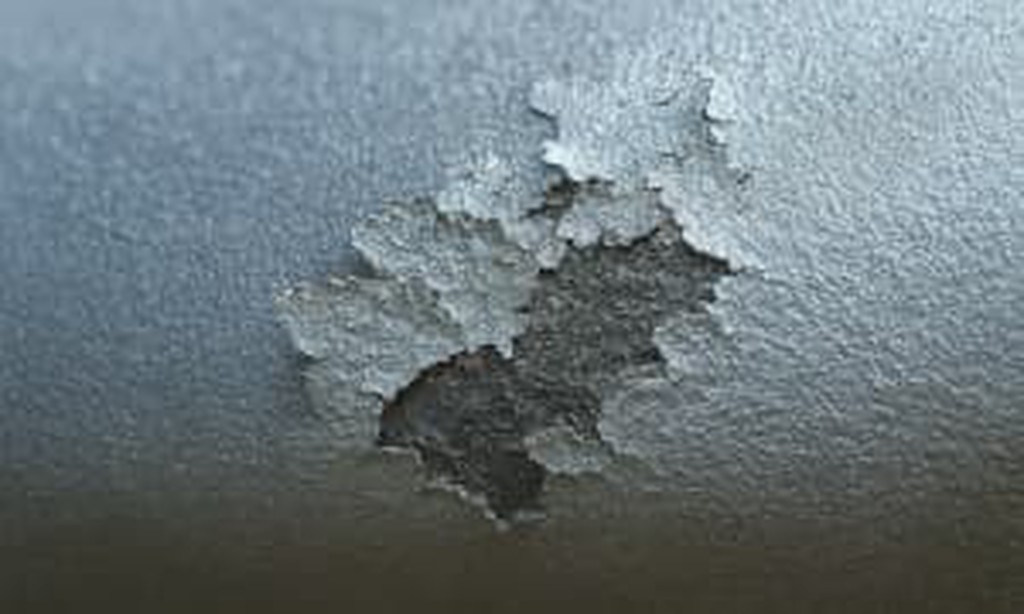
What You See
- Plating lifts, chips, or flakes off the base metal
- Peeling may start at sharp edges or stamped features
- In accelerated tests (bend, tape, thermal), coating separates cleanly
Common Root Causes
- Inadequate cleaning or degreasing
- Insufficient or incorrect activation/acid dip
- Passive or oxidized base metal (e.g., high-alloy steels, stainless, aluminum)
- Incorrect pre-plate layer or strike (e.g., strike nickel)
- Hydrogen embrittlement or improper post-bake
Quick Checks
- Repeat cleaning and activation on a test coupon—does adhesion improve?
- Check age and concentration of cleaners and activators
- Review incoming material and any heat treatment history
- Confirm bake cycles (temperature, time, delay) for high-strength steels
Corrective Actions
- Tighten cleaning sequences (alkaline clean → rinse → acid activate → rinse)
- Refresh or rebalance cleaners and activators
- Introduce or adjust strike processes (e.g., nickel strike) for difficult substrates
- Standardize adhesion tests and record results in your LIMS for traceability
Tip: When you log adhesion issues with digital recordkeeping, it becomes obvious which suppliers, heat treatments, or lot numbers correlate with peeling events.
🕳️ Pitting: Gas, Particles, and Contamination
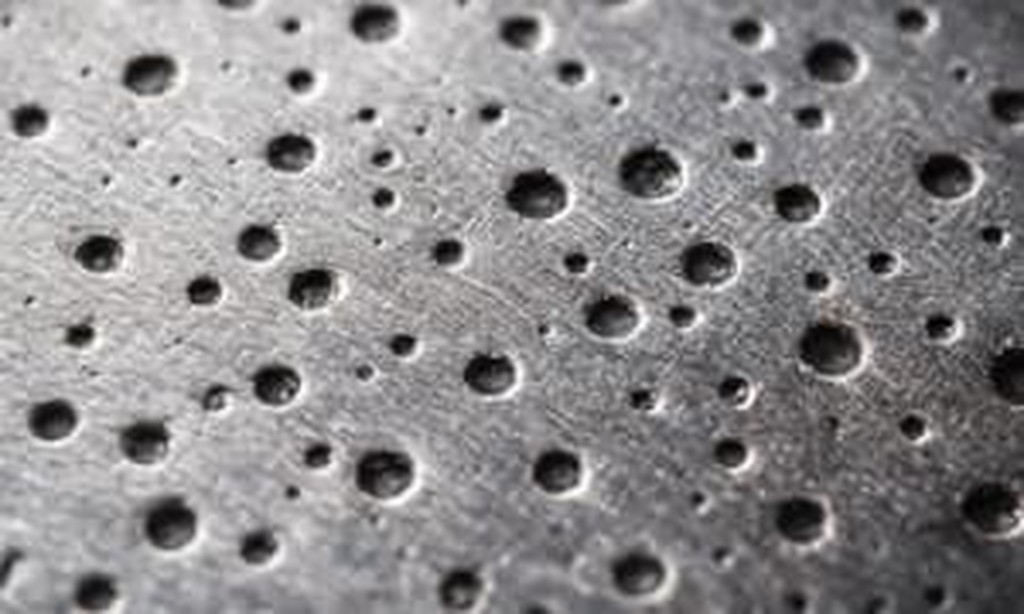
What You See
- Small pinholes or crater-like pits
- Often worse on upward-facing surfaces or “shelf” areas
- May only appear after polishing or accelerated corrosion tests
Common Root Causes
- Gas bubbles clinging to the surface (hydrogen, air)
- Suspended particulates (dust, anode fines, undissolved salts)
- Oil/grease or surfactant residues from poor cleaning or rinsing
- Local overheating or poor agitation
- Improper wetting (insufficient wetter or surfactant imbalance)
Quick Checks
- Observe parts during plating—do you see trapped bubbles in recesses?
- Inspect filtration system, filter age, and flow direction
- Check anode bags for tears or plugged media
- Review recent chemical deliveries for quality or supplier changes
Corrective Actions
- Increase or adjust agitation to sweep gas bubbles away
- Improve filtration and replace filters/anode bags
- Introduce or adjust wetting agents per supplier guidance
- Improve rinsing between steps to prevent drag-in and surfactant carryover
Using Lab Wizard SPC and alerts on key variables—like filtration differential pressure, temperature, and metal concentration—helps you see slow drift toward pitting conditions before parts are affected.
🏔️ Roughness & Nodules: Filtration and Solids Control

What You See
- Gritty or sandpaper feel, visible particles or bumps
- Nodules often concentrate on edges, corners, and shelf areas
- Parts may fail for appearance or corrosion due to porosity
Common Root Causes
- Inadequate or failed filtration
- Anode fines from poorly bagged or damaged anodes
- Precipitated hydroxides or undissolved salts
- Environmental contamination (dust, grinding residue near line)
Quick Checks
- Examine filter cartridges and anode bags—are they loaded, torn, or bypassed?
- Check for nearby sources of dust or grinding
- Review analysis records for contaminants or unusual impurities
Corrective Actions
- Increase turnover rate or upgrade filtration
- Replace or re-bag anodes with the correct media
- Adjust pH and metal balance to minimize precipitation
- Move or shield the line from external contamination sources
💨 Blisters: Trapped Contamination & Hydrogen
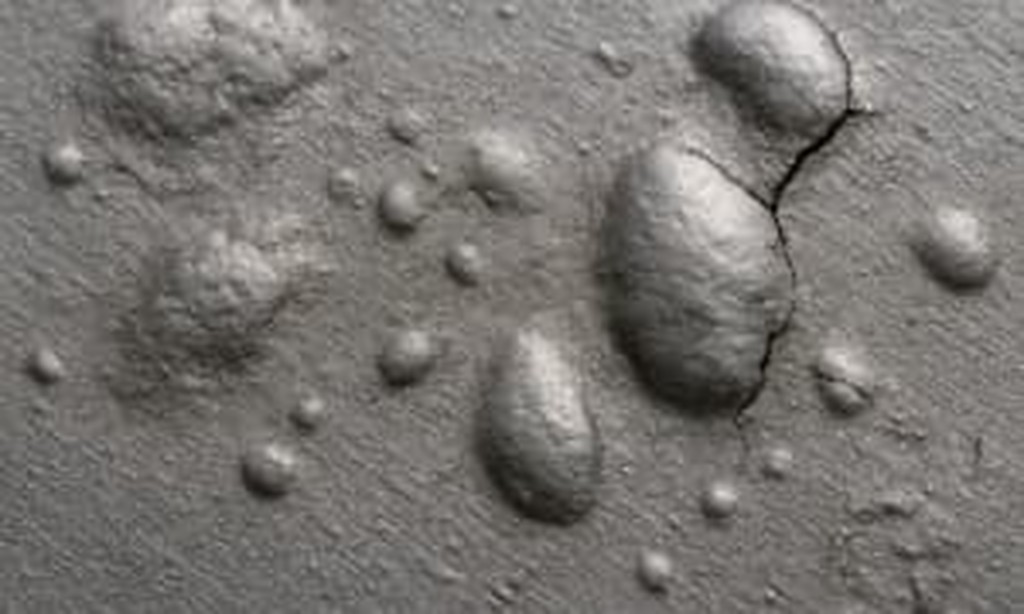
What You See
- Raised blisters that may pop, expose bare metal, or peel
- Often show up after baking, bending, or corrosion exposure
Common Root Causes
- Trapped contamination (oil, oxide layers) between substrate and deposit
- Hydrogen buildup in high-strength steels or thick coatings
- Poor rinsing between pre-plate steps
- Incorrect or missing post-bake cycles for embrittlement relief
Quick Checks
- Cross-section a blistered area to see if the defect starts at the substrate interface
- Verify post-plate baking (time, temperature, delay after plating)
- Review cleaning and activation for that job and tank history
Corrective Actions
- Tighten rinse controls and contamination checks
- Review and enforce hydrogen relief bake requirements
- For chronic issues, perform MSA and adhesion tests to ensure your measurement and inspection systems are reliable
🎯 Skip Plate, Poor Coverage & Thickness Variation
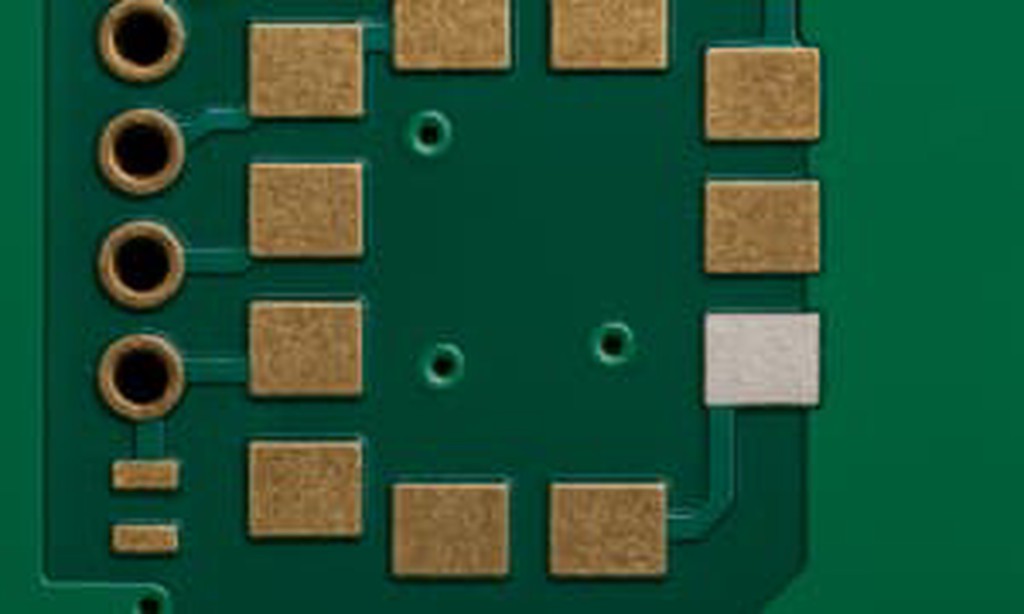
What You See
- Bare or lightly plated areas in recesses or deep holes
- Edges too thick, recesses too thin
- Low coverage in areas far from anodes
Common Root Causes
- Poor current distribution due to geometry and rack design
- Low current density in shadowed areas
- Inadequate agitation or solution flow into recesses
- Insufficient time at current density
Quick Checks
- Run Hull cell tests using the same bath to diagnose distribution issues
- Evaluate rack design: can you adjust contact points, robbers, or shields?
- Compare actual thickness mapping to modeled expectations
Corrective Actions
- Redesign racks for better throwing power and part orientation
- Add or reposition anodes and robbers
- Use step plating cycles (lower initial current to activate recesses, then ramp)
- Document best-known rack setups in your digital system so they don’t live only in one person’s head
🌈 Stains, Discoloration & Cosmetic Issues
What You See
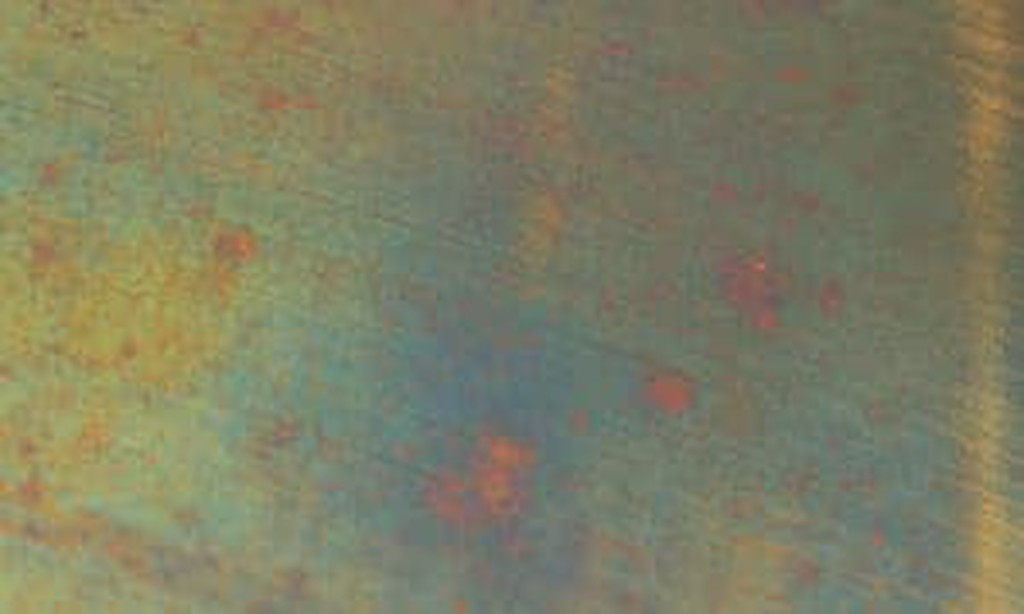
- Yellow/brown staining, rainbow films, or water spots
- Streaks following drain lines or handling marks
Common Root Causes
- Incomplete rinsing (drag-in / drag-out)
- Contaminated rinse water or overflowing chemistries
- Incorrect post-treatment or passivation steps
- Handling with dirty gloves or touching wet parts
Quick Checks
- Check conductivity or contamination of rinse tanks
- Verify flow and overflow rates
- Review post-treatment chemistry age and concentration
Corrective Actions
- Tighten rinse controls (counter-flow rinses, flow monitoring)
- Refresh or adjust post-treatments
- Implement standard handling procedures and training
📊 Using SPC & Western Electric Rules for Early Defect Detection
By the time you see visible defects, your process has likely been drifting for days or weeks.
SPC (Statistical Process Control) with Western Electric Rules gives you an early-warning system on:
- Metal concentration
- Key additive levels
- Bath temperature and pH
- Rectifier current and voltage
- Line speed or amp-minutes per part
Instead of reacting to scrap, you react to SPC patterns:
- Points beyond limits (Rule 1)
- Clusters or trends (Rules 2–4)
When you pair SPC charts with Lab Wizard Alerts, you can:
- Trigger HIGH priority alerts when a critical parameter goes out of control
- Notify the right people via in-platform, email, or dashboards
- Log the investigation and corrective action in a complete audit trail
For a deeper dive, see:
- Western Electric Rules for SPC: Implementation Guide
- How to Use Lab Wizard Alerts for Critical Event Communication and Accountability
⚙️ Turning Defect Troubleshooting into a System
To get long term benefit, your troubleshooting needs to become a repeatable, data-driven recipe, not a one off hero moment.
Implementation Checklist
✔ Define and standardize defect categories and naming
✔ Use digital recordkeeping so every analysis, addition, and makeup is traceable
✔ Build SPC charts on the few variables that matter most for each line
✔ Enable alerts tied to control limit violations and critical spec hits
✔ Create a defect log: defect → suspected cause → actions → confirmation
✔ Review defect metrics monthly: ppm, scrap, rework, top 5 patterns
Expected Results
Shops that treat troubleshooting as a system typically see:
- Scrap and rework reductions (15–40% over time)
- Fewer surprises in audits, because every defect has a trail
- Faster root cause identification when issues do appear
- Less dependence on a single “expert” and more repeatable quality
🚩 Common Mistakes
❌ Reacting to defects without capturing when they started relative to chemistry or operating changes
❌ Making multiple changes at once, so you can’t isolate the real fix
❌ Skipping documentation, so the same defect repeats months later
❌ Trusting tribal knowledge over data-driven SPC patterns
❌ Not using your LIMS or digital recordkeeping to correlate defects with process history
Related Internal Resources
Learn more about how Lab Wizard supports quality, scrap reduction, and defect prevention:
- How to Prevent Scrap in Plating
- How to Reduce Chemical Waste in Plating
- How to Manage Plating Bath Chemistry Automatically
- How to Calculate Chemical Additions & Rebuild Plating Baths (Makeups)
- Digital Recordkeeping for Plating Shops
- LIMS for Plating and Metal Finishing
- Western Electric Rules for SPC: Implementation Guide
These resources tie together defect troubleshooting, SPC, LIMS, and chemistry control into one coherent system that scales beyond a single expert.
External References & Industry Resources
These external resources provide additional background on plating defects, causes, and corrective actions:
Nickel Institute – Nickel Plating Handbook (2023) – Includes detailed sections on common nickel plating defects (roughness, pitting, burning) and their causes.
https://nickelinstitute.org/media/lxxh1zwr/2023-nickelplatinghandbooka5_printablepdf.pdfProducts Finishing – Nickel Troubleshooting Guide – Practical troubleshooting tables for many nickel plating symptoms and likely causes.
https://www.pfonline.com/articles/nickel-troubleshooting-guideSharretts Plating – Complete Guide to Electroplating Defects & Issues – Overview of common electroplating defects across multiple metals and their origins in design, prep, and process.
https://www.sharrettsplating.com/blog/electroplating-defects-issues/FinishingAndCoating.com – Troubleshooting and Eliminating Problems in Plating Baths – Step-by-step approach using basic wet analysis, Hull cell testing, and operating parameter review.
https://finishingandcoating.com/index.php/plating/913-troubleshooting-and-eliminating-problems-in-plating-bathsNMfrc – Pores, Spotting-Out, Pits, Peeling & Blistering – Technical paper explaining mechanisms behind pores, pits, and blistering in electroplated deposits and how to avoid them.
https://www.nmfrc.org/pdf/psf00/00dec74.pdf
By combining these industry references with Lab Wizard’s digital recordkeeping, SPC, and alerts, you can build a plating operation that detects problems early, corrects them quickly, and proves it in every audit.
